1、安装环境
安装nodejs,官网的最新安装包只支持win8.1以上,因此要支持win7需下载低版本
开发工具使用电脑原先就有的VS2013
安装Nginx,并配置文件nginx.conf
https://www.runoob.com/w3cnote/nginx-setup-intro.html
https://blog.csdn.net/duguyuyun12345/article/details/83471821
nginx 找不到pid文件原因及解决办法
真正的启动命令是: nginx 或者 nginx -c 指定目录的配置文件 nginx.conf。 查看进程存在即表明启动成功,之后再调用reload和reopen就不会报错了。
nginx.conf的内容如下:
########### 每个指令必须有分号结束。#################
#user xiaok administrators; #配置用户或者组,默认为nobody nobody。
#worker_processes 2; #允许生成的进程数,默认为1
#pid /nginx/pid/nginx.pid; #指定nginx进程运行文件存放地址
error_log logs/error.log; #制定日志路径,级别。这个设置可以放入全局块,http块,server块,级别以此为:debug|info|notice|warn|error|crit|alert|emerg
events {
accept_mutex on; #设置网路连接序列化,防止惊群现象发生,默认为on
multi_accept on; #设置一个进程是否同时接受多个网络连接,默认为off
#use epoll; #事件驱动模型,select|poll|kqueue|epoll|resig|/dev/poll|eventport
worker_connections 1024; #最大连接数,默认为512
}
http {
include mime.types; #文件扩展名与文件类型映射表
default_type application/octet-stream; #默认文件类型,默认为text/plain
#access_log off; #取消服务日志
log_format myFormat '$remote_addr–$remote_user [$time_local] $request $status $body_bytes_sent $http_referer $http_user_agent $http_x_forwarded_for'; #自定义格式
access_log logs/access.log myFormat; #combined为日志格式的默认值
sendfile on; #允许sendfile方式传输文件,默认为off,可以在http块,server块,location块。
sendfile_max_chunk 100k; #每个进程每次调用传输数量不能大于设定的值,默认为0,即不设上限。
keepalive_timeout 65; #连接超时时间,默认为75s,可以在http,server,location块。
error_page 404 https://www.baidu.com; #错误页
server {
keepalive_requests 120; #单连接请求上限次数。
listen 4545; #监听端口
server_name 127.0.0.1; #监听地址
location ~*^.+$ { #请求的url过滤,正则匹配,~为区分大小写,~*为不区分大小写。
root html; #根目录
index index.html; #设置默认页
#proxy_pass http://mysvr; #请求转向mysvr 定义的服务器列表
#deny 127.0.0.1; #拒绝的ip
#allow 172.18.5.54; #允许的ip
}
}
}
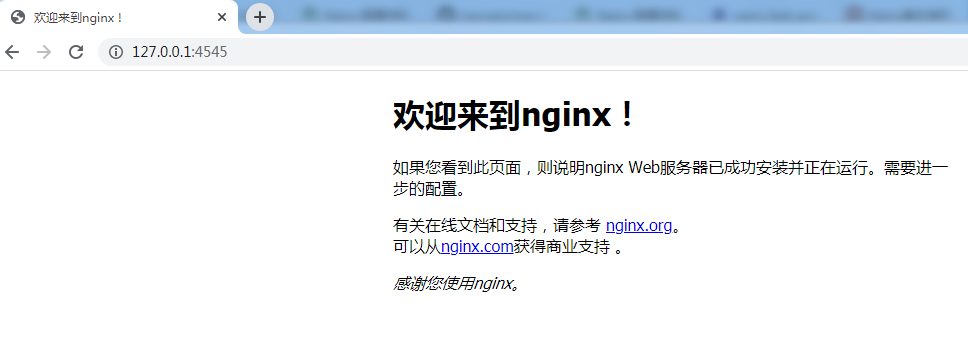
配置成功,登陆
出现上面的界面标示nginx配置成功了
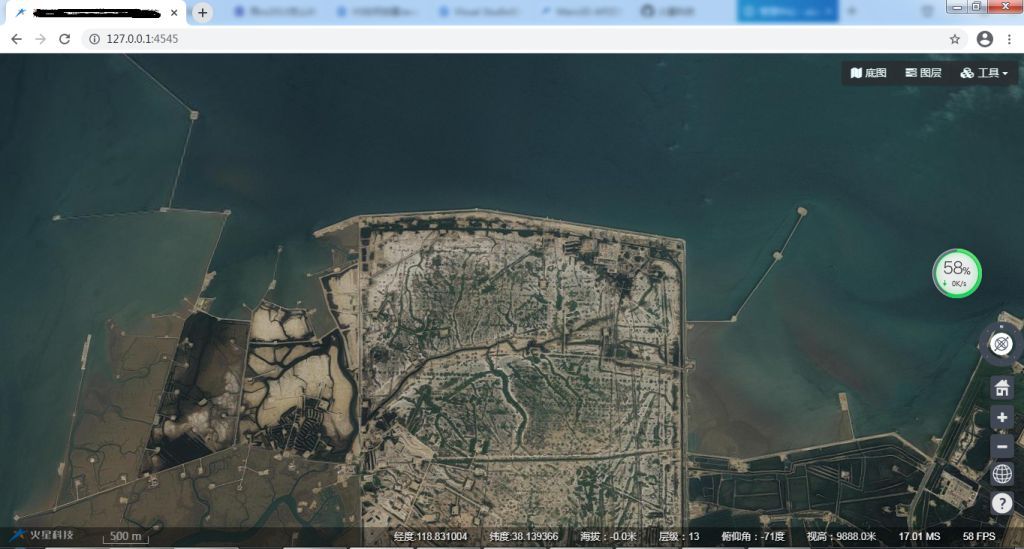
在github下载mars3d和mars3d-es5-widget,导入到nginx的文件夹中,并配置不同的端口
增加服务端口
server {
keepalive_requests 120; #单连接请求上限次数。
listen 4546; #监听端口
server_name 127.0.0.1; #监听地址
location ~*^.+$ { #请求的url过滤,正则匹配,~为区分大小写,~*为不区分大小写。
root mars3d-master; #根目录
index examples.html; #设置默认页
#proxy_pass http://mysvr; #请求转向mysvr 定义的服务器列表
#deny 127.0.0.1; #拒绝的ip
#allow 172.18.5.54; #允许的ip
}
}
这样一来,2个github项目就导入到本地电脑中,配置home的位置,修改窗口名,就可以得到自己的项目界面了


发表评论: